1:09 AM Designing a Custom Reef Tank: From Start to Finish | |
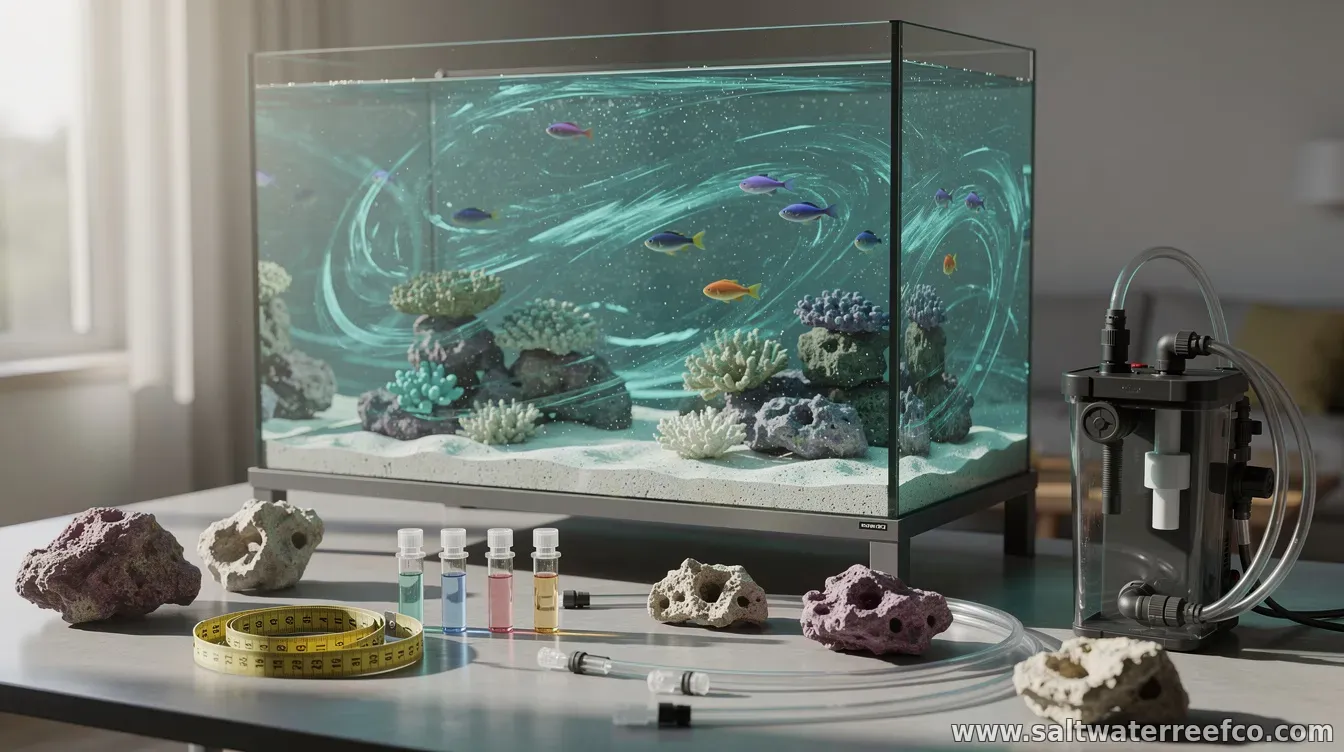
Designing a custom reef tank is less about buying the biggest tank you can fit and more about matching the tank, equipment, and water chemistry to the animals you want to keep. Whether you’re aiming for a soft-coral garden or a high-light SPS display, a thoughtful plan at the beginning prevents costly mistakes later. 1) Define your reef goals (and your constraints)Start by writing down what “success” looks like. Decide on the style of reef (mixed reef, LPS-focused, SPS-dominant, or a soft-coral setup), the approximate tank size, and the target complexity—beginner-friendly or maintenance-intensive. Then measure your real constraints: where the tank will go, available power outlets, nearby plumbing if you’re using a sump or automated top-off, and the space needed for service access. Your final design should be built around usability as much as aesthetics. 2) Choose the tank footprint and filtration strategyDepth affects how light penetrates, how rockwork can be arranged, and how corals can be supported. A wider footprint often makes scaping easier and can create more stable flow patterns across the tank. Taller tanks may offer more vertical coral growth options but require careful planning for lighting and maintenance. Next, decide on a filtration approach. Many custom reef tanks use a sump for space efficiency and equipment placement, along with a protein skimmer, heater(s), refugium (optional), and mechanical filtration where appropriate. If you’re using an all-in-one (AIO) system, you’ll trade some flexibility for simpler installation—still workable, but you’ll design around the limits of the chamber space. 3) Create a lighting and flow plan before you buy coralsReef tanks live and die by light and flow consistency. Choose lighting based on the coral types you want, then map out coverage across your tank. Consider whether you’ll use dimming, scheduling, and whether mounting height will change intensity at the water surface. For flow, aim for multiple directions and a pattern that prevents dead spots. Many successful designs combine a primary wave or oscillation with secondary circulation to keep detritus suspended and ensure corals receive nutrients without blasting tissue with constant direct jets. 4) Design the stand, plumbing, and safety detailsA custom tank should be serviceable. Plan for easy access to the sump area, filter media, heaters, and dosing or top-off components. Include leak-safe practices: proper bulkhead installation, secure tubing routing, and placing the system in a location where spills are easier to contain. If you’re using a RO/DI system, plan the water storage and delivery path so auto top-off can run reliably. For larger systems, wiring and control devices (such as controllers for lights, heaters, and dosing) should be mounted and labeled so future troubleshooting is fast. 5) Build the scape and start with stable water chemistryScaping is where your future coral layout begins. Build the rockwork to support flow lanes and create realistic “coral zones” (low/medium/high flow and light). Leave room for growth, and ensure the structure is stable enough to prevent shifting during routine maintenance. From there, start with a salt mix and water source you trust, then follow a conservative approach to cycling. Most reef setups rely on establishing biological filtration before adding livestock. Temperature stability and good oxygenation matter as much as the cycling phase itself. 6) Cycle, test, and fine-tune (don’t rush)Plan your test schedule before you begin. Track key parameters such as salinity, temperature, alkalinity, calcium, nitrate, and phosphate—then watch trends rather than reacting to every single reading. If you use automated dosing, calibrate carefully and start slowly so you don’t overshoot. During this stage, you’ll also validate your equipment: confirm skimmer performance, verify heater control stability, ensure pumps are operating as expected, and confirm that flow patterns remain consistent after you add rock and sand. 7) Add livestock in stages, then maintain intentionallyOnce the tank is stable, stock gradually. Begin with hardy species that can handle the environment while your biological system matures. As you add more demanding corals and invertebrates, increase feeding thoughtfully and adjust nutrient management to match your goals. Maintenance is part of the design. Create a routine for water changes, filter media replacement (if used), glass cleaning, and equipment checks. Many long-term successes come from consistency: keeping parameters in a comfortable range and preventing nutrient swings that stress corals. A custom reef tank is ultimately a system you engineer: the tank size and layout, the filtration and automation, the lighting and flow, and the husbandry schedule all work together. If you plan the design around your goals and build stability first, you’ll be far more likely to enjoy a thriving reef rather than constantly correcting avoidable early mistakes. | |
|
| |
Next & Previous posts