0:28 AM What to Do If Your Aquarium Leaks Before Help Arrives |
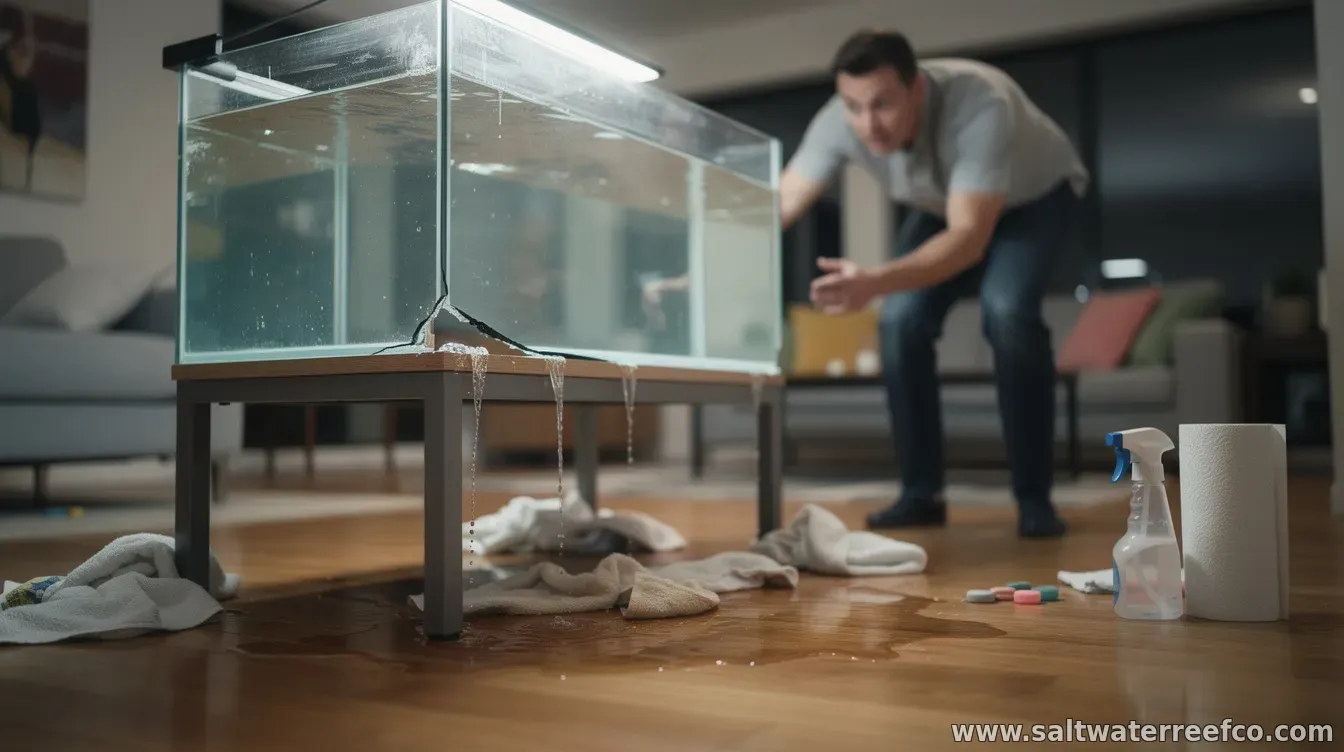
A leaking aquarium is an emergency for both your home and your fish. Water can spread quickly, damage nearby materials, and create electrical hazards—especially if any cords are plugged in near the spill. If help isn’t available yet, focus first on preventing harm, then on keeping your aquarium’s inhabitants safe until you can repair the leak. 1) Stop the risk and protect electricity right away Unplug the aquarium from the outlet if it’s safe to do so. If the leak has reached any power source, do not step into standing water or touch the equipment while you’re grounded—turn off power at the breaker if needed. Once you’ve made the area safe, avoid re-plugging anything until the spill is cleaned and the electrical components are dry and verified safe. 2) Reduce the water level and slow the leak If the leak appears at the tank seam or bottom, the safest move is often to lower the water level below the damaged area. Use a clean container (or a siphon) to remove water gradually. The goal is to decrease pressure on the leak so it worsens less, while you buy time to move livestock. 3) Move fish and aquarium life to temporary housing Prepare a temporary container beforehand—a clean bucket or food-safe tank—filled with water from the aquarium. Keep temperature stable by matching the new container water as closely as possible to the tank’s temperature. Transfer fish gently, using a net, and keep them covered to reduce stress. If you have an air pump or can move a filter media setup quickly, prioritize aeration; fish still need oxygen while you act. Keep in mind that plants and beneficial bacteria are sensitive to time out of the established filter system. If your setup includes live rock or live substrate, try to keep them submerged in aquarium water so you can preserve as much of the beneficial biology as possible. For short delays, using the existing tank water for any temporary holding is typically the safest approach. 4) Manage the filter and heater safely Do not run a filter or heater that has been exposed to water from the leak. If these devices are already wet, disconnect power immediately and allow them to dry thoroughly before any testing. If you must keep biological filtration going temporarily, consider moving the filter intake and media carefully if the leak isn’t in the filter area—but only if electrical safety is guaranteed. 5) Contain the spill and protect your home Use towels, a mop, or a wet/dry vacuum to contain water. The longer water sits, the higher the risk of damage—especially if it reaches floors, baseboards, or carpeting. If water has leaked into walls or underneath flooring, consider contacting a professional water-damage service, particularly if the leak involved a large volume. 6) Identify the leak source before you refill Once the situation is stable and livestock is safe, inspect the aquarium carefully (without forcing the tank) to determine where the water is coming from. Common causes include a damaged seam, cracked glass/acrylic, a failed silicone seal, an uneven stand, or a problem with the lid/plumbing. Don’t “seal” or patch a structural leak on a filled tank—repairing the cause is the priority before returning water to full levels. 7) Plan the next steps: repair, replace, and re-cycle if needed Depending on the leak location and severity, you may need to re-seat or replace the tank or the affected component. Keep in mind that moving fish, losing filter stability, or allowing media to dry can increase stress and disrupt water quality. When repairs are complete, reassemble the system, restore filtration gradually, and monitor key parameters like ammonia, nitrite, and temperature before returning livestock to the restored environment. Quick checklist for the first minutes
With quick, safety-first action, you can often prevent most of the damage from an aquarium leak. If the leak is ongoing, involves significant structural damage, or causes water to reach electrical outlets or building materials, prioritize professional assistance—both for tank repair and for any potential water-damage issues. |
|
|
Next & Previous posts