2:07 AM Custom Reef Aquarium Design: From Concept to Installation |
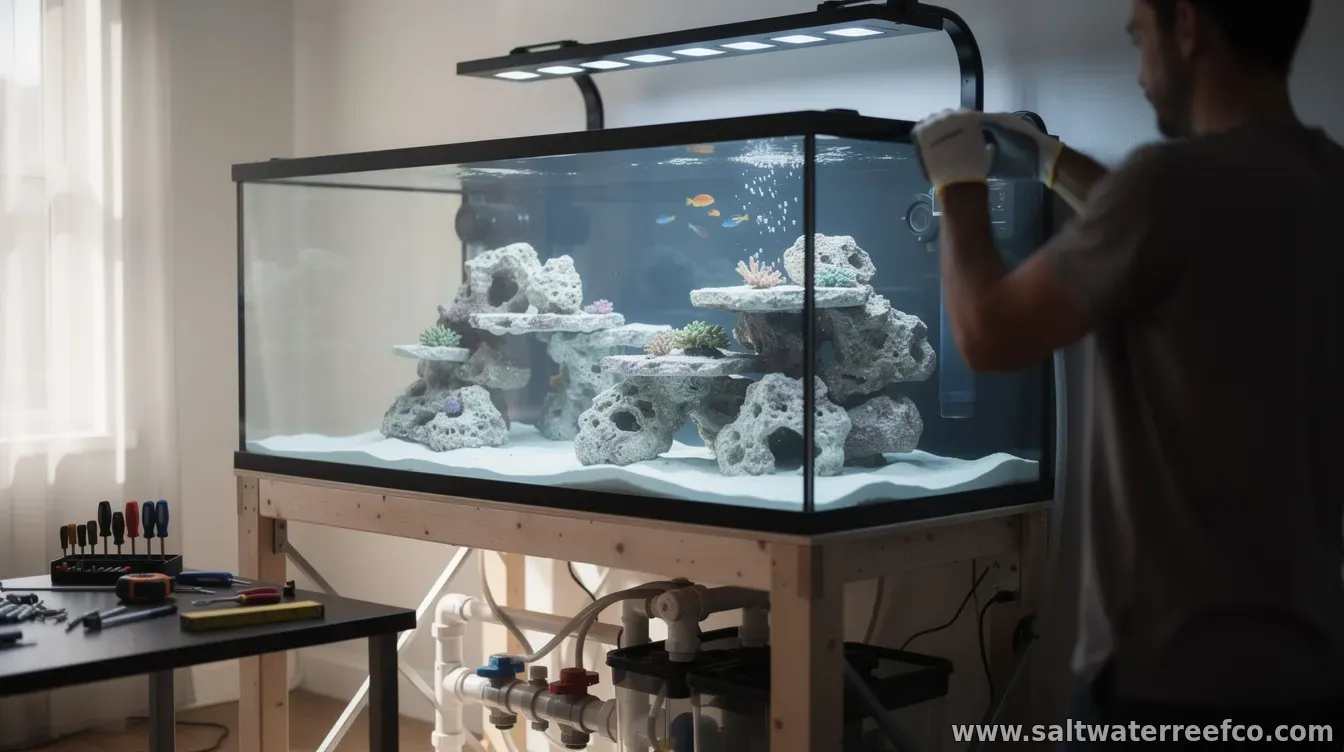
Designing a custom reef aquarium is equal parts creativity and engineering. Unlike off-the-shelf tanks, a tailored build has to balance aesthetics with long-term water stability—because reef systems are unforgiving when parameters drift. From concept to installation, the process usually involves several checkpoints where choices can significantly affect cost, timeline, and maintenance. 1) Concept and feasibilityThe journey often starts with your goals: the tank size, the look you want (open sand bed, rockscape centerpiece, peninsula view), and the type of reef you’re aiming for. Professionals typically assess where the tank will go, how much load the floor can handle, and what utilities are available for electricity, water top-off, and drainage. This stage also establishes a realistic budget range and whether any structural modifications may be needed. 2) Layout, equipment sizing, and flow planningOnce the concept is set, the design shifts to systems thinking. Reef tanks require properly sized filtration and careful water movement for oxygenation and nutrient control. Expect discussions about sump placement (and whether you’ll use a standard sump, a custom-built system, or a hybrid approach), overflow capacity, pump selection, and the number and placement of powerheads or return flow. These decisions help prevent dead spots and support stable coral growth patterns. Lighting and reef “photography” matter too. The choice of LED fixtures, mounting height, and acclimation plan should align with the coral types you want to keep—from lower-light soft corals to higher-light demanding species. 3) Build design, materials, and fabrication timelineAs the project moves from planning to execution, the tank itself and key components are specified. Custom builds may include a sump with compartments for skimming, refugium or media filtration, and refugium-style nutrient export, as well as custom cabinetry or stands sized for doors, wiring, and maintenance access. Acrylic and glass options differ in thickness, weight, and scratch resistance, which can influence both cost and delivery time. At this point, many vendors provide a timeline covering fabrication, delivery, and onsite readiness checks. It’s also where you confirm details like cable management paths, ventilation for electrical components, and how easy it will be to reach valves, filters, and service points without dismantling the display. 4) Installation: plumbing, leak testing, and first water fillInstallation typically begins with setting the stand and verifying leveling. Then come plumbing runs for the overflow/return, drilling or connection work if required, and careful routing of lines to minimize friction losses and vibration. A leak test is standard practice before adding saltwater. Only after verifying plumbing integrity do installers move to a full fill and check electrical safety—GFCI protection, proper grounding, and safe placement of heaters, controllers, and pumps. For homeowners, this stage can be the biggest “reality check.” Even well-designed systems require adjustments to fit your specific room conditions. A good installer will communicate changes early—especially anything that affects access for future service or maintenance. 5) Cycling, parameter stabilization, and staged stockingWith the tank filled, the reef timeline shifts from “build” to “biology.” The system must cycle, establishing beneficial bacteria that can process ammonia and nitrite into safer forms. Expect a recommended test schedule for ammonia, nitrite, nitrate, pH, alkalinity, salinity, and temperature. Many builds also include an acclimation period for lighting and water flow, especially when switching on high-output equipment. Most responsible reef plans avoid immediate full stocking. Instead, livestock may be introduced in stages: first hardier organisms to support a balanced system, then corals after stability is demonstrated. This staged approach can reduce the risk of losses during the early months. 6) Ongoing maintenance setup and automationAfter installation, the success of the reef depends on day-to-day consistency. A custom system should ideally include a maintenance plan: cleaning schedules for skimmers and filters, filter media replacement strategy (if used), and routine checks of top-off systems and heaters. Many builds also integrate controllers for temperature stability and automated dosing for nutrients or alkalinity, though automation still requires monitoring and periodic calibration. The best-designed installations account for human reality—so they’re built to be maintainable. That can mean clear access to sump compartments, visible and reachable test points, and organized wiring channels that make troubleshooting less stressful. What to expect overall: A custom reef aquarium project generally involves multiple phases—design, equipment selection, fabrication, onsite installation, cycling, and gradual stocking. While each step has its own tasks and decisions, the main throughline is the same: the clearer your plan for water stability and maintenance, the smoother the transition from concept to a thriving reef. |
|
|
Next & Previous posts