0:46 AM RO/DI Water Filtration: Why It Matters and Setup Guide | |
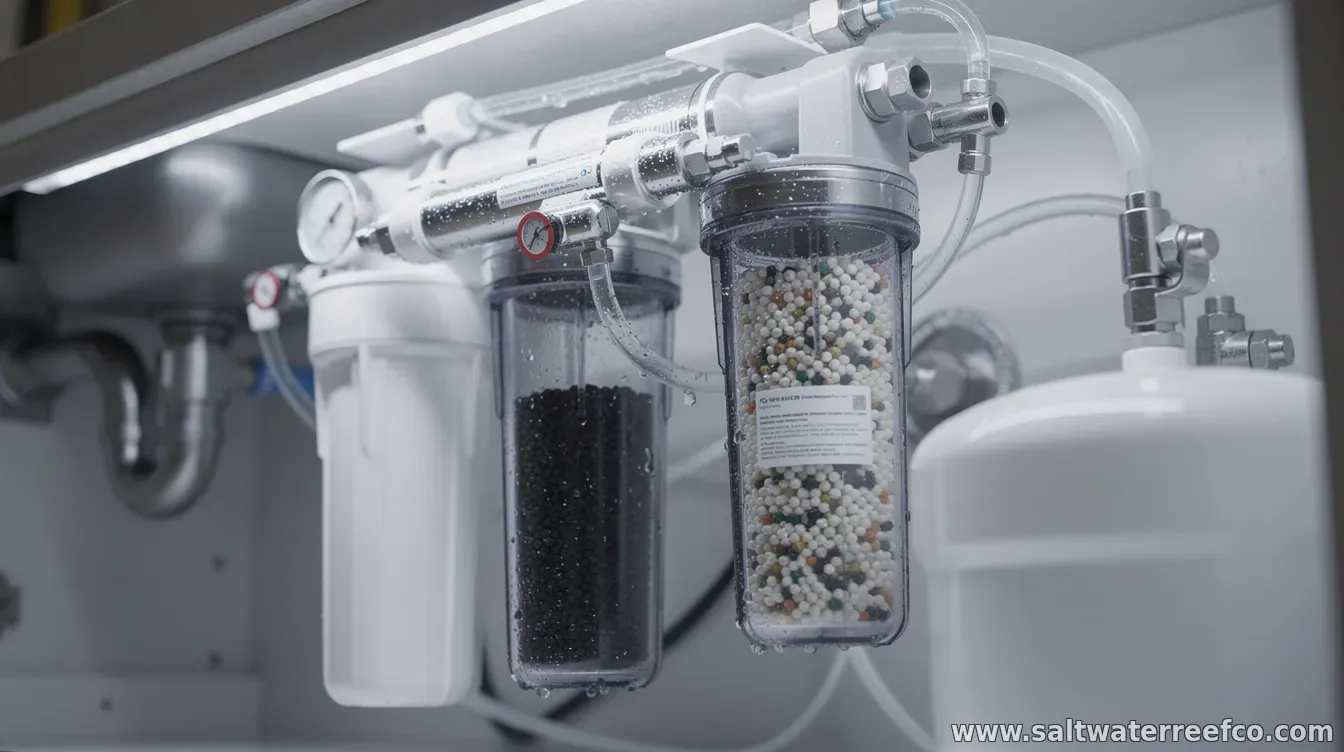
RO/DI water filtration has become a go-to solution for anyone who needs consistently clean water—especially for uses where dissolved minerals cause problems, such as aquariums, lab-style preparation, certain cleaning routines, and vehicle detailing. The core idea is straightforward: remove as much as possible from the incoming water before it reaches the point of use. An RO/DI system typically combines two stages. Reverse Osmosis (RO) uses pressure to push water through a semi-permeable membrane, reducing dissolved solids like salts and many contaminants. Deionization (DI) then “polishes” the water by using resin beds to capture the remaining ions that RO leaves behind. Why RO/DI mattersTap water quality varies widely by location, and even “clean” water can carry dissolved minerals. Those minerals can accumulate on heating elements and plumbing fixtures (scale), interfere with soaps and detergents, and leave residue. In tightly controlled applications, they can also contribute to unwanted buildup or measurement drift. With RO/DI, the goal is predictability: water that is low in dissolved solids and more consistent from day to day. This can reduce maintenance burdens (like descaling) and help protect systems or materials that are sensitive to mineral content. Key components to considerBefore installation, confirm what you’re trying to solve and match components to your water conditions. Most RO/DI setups include:
If your incoming water has high sediment or chlorine/chloramine, pre-treatment quality matters. Many systems also include check valves and appropriate fittings to maintain pressure and prevent backflow. How to set one up safelyStart by gathering basic information: your incoming water source, whether chlorine/chloramine is present, and (ideally) your starting Total Dissolved Solids (TDS). You’ll use these inputs to select the right pre-filters and to estimate how quickly DI resin will exhaust. Next, plan the placement. The system should be mounted where you can manage tubing runs, keep components protected from freezing, and access the cartridges for maintenance. Use the manufacturer’s recommended flow direction and tubing sizes to avoid leaks or performance issues. Installation is typically done by connecting to a cold-water line with a shutoff valve, installing pre-filters and the RO membrane housing in the correct order, then adding the DI stage after RO. Many setups drain reject water (RO waste stream) to a sink drain or dedicated line—ensure local plumbing code compliance and secure connections. After assembly, run the system per the manufacturer’s flushing instructions. Then measure TDS at the RO output and again after DI. RO output TDS will usually drop significantly; after DI, it should be very low if the resin is fresh and the system is operating correctly. Finally, track performance over time. Resin replacement intervals depend on your water chemistry and flow. A simple routine—periodic TDS checks and keeping a log—helps you avoid using exhausted DI resin and preserves the consistency you’re paying for. RO/DI systems can deliver consistently low dissolved solids, but they’re only as effective as their pre-filtration, correct installation, and maintenance. For best results, follow the product manual closely, verify performance with TDS readings, and replace cartridges on a schedule driven by measurements rather than guesswork. | |
|
| |
| Total comments: 0 | |