1:12 AM How to Acclimate New Corals Using the Drip Method | |
Acclimating new corals is one of the most important steps between purchase and a healthy reef. Even when a store’s water parameters look close to yours, small differences in salinity, temperature, pH, and trace chemistry can shock sensitive coral tissue. The drip method is a widely used approach because it slowly equalizes the chemistry of the bag water with your display (or quarantine) tank water, lowering stress and improving survival rates. Why drip acclimation worksWhen corals arrive in a bag, their immediate environment can be quite different from yours. By allowing a small amount of tank water to enter the bag over time—while excess bag water drains away—you dilute the bag’s original water gradually. The coral experiences a slower, more stable transition instead of a sudden change. What you’ll needGather simple, low-stress tools before you start: a clean bucket or container for the corals, airline tubing, a clamp or control valve, a small pump or gravity setup to create a steady drip, and a way to measure or at least observe tank conditions. If you’re using a quarantine tank, ensure it’s ready and running so you don’t acclimate into unstable conditions.
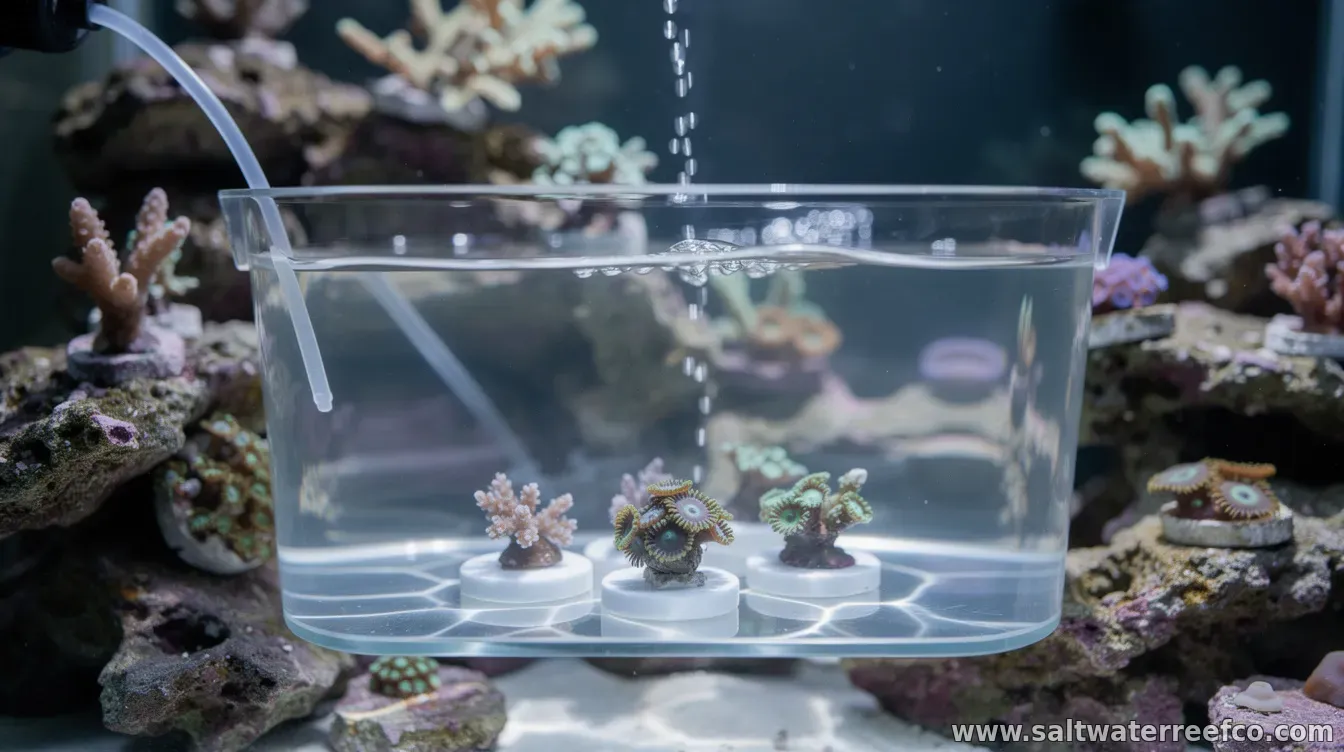
Step-by-step: the drip methodFirst, keep the coral in low stress conditions. Float the bag to help equalize temperature briefly—typically just enough to avoid a big thermal jump. Then begin the drip acclimation setup so tank water is introduced slowly into the bag. Place the bag (or coral container) in a larger bucket. Route airline tubing so tank water drips into the bag at a slow, steady rate. As water enters, allow the same volume (or nearly the same) to drain from the outer container so the bag doesn’t overflow. Control the drip speed until it’s gentle and consistent. Continue drip acclimation for about 30–60 minutes in many cases, then reassess. If your parameters differ more (for example, salinity or temperature), extending the process can further reduce shock. A practical target is to replace a meaningful fraction of the bag’s water volume gradually rather than rushing the transition. After acclimation: placing and observingWhen acclimation is complete, gently transfer the coral to your tank. Avoid pouring excess bag water into the aquarium, since it may contain waste products, unwanted organisms, or chemical irritants from the transport water. Use minimal handling—especially for delicate species—and keep flow conditions appropriate for the coral type. For many corals, the first hours matter: place them where their natural light and flow needs are most similar to what they’re accustomed to. Some corals retract slightly at first; that can be normal, but persistent, rapid deterioration is a warning sign that conditions are still off or the coral was severely stressed during transit. Common mistakes to avoidDrip acclimation can fail when the process is rushed or inconsistent. A drip that’s too fast can turn the transition into a sudden change. Overfilling the bag or letting it overflow can increase chaos and handling. Also, skipping the temperature float or transferring the bag water directly into the display can introduce instability or contaminants. Finally, don’t ignore quarantine and tank readiness. New corals can carry pests, so having a plan—whether it’s quarantine, observation, or targeted pest management—helps you protect the rest of the reef. Drip acclimation isn’t complicated, but it’s precise. When you slow down the chemical transition, choose a stable setup, and avoid adding bag water to the tank, you give your new coral the best chance to settle in and grow. | |
|
| |
| Total comments: 0 | |