3:40 AM 200+ Gallon Display Tank: What the Build Process Looks Like |
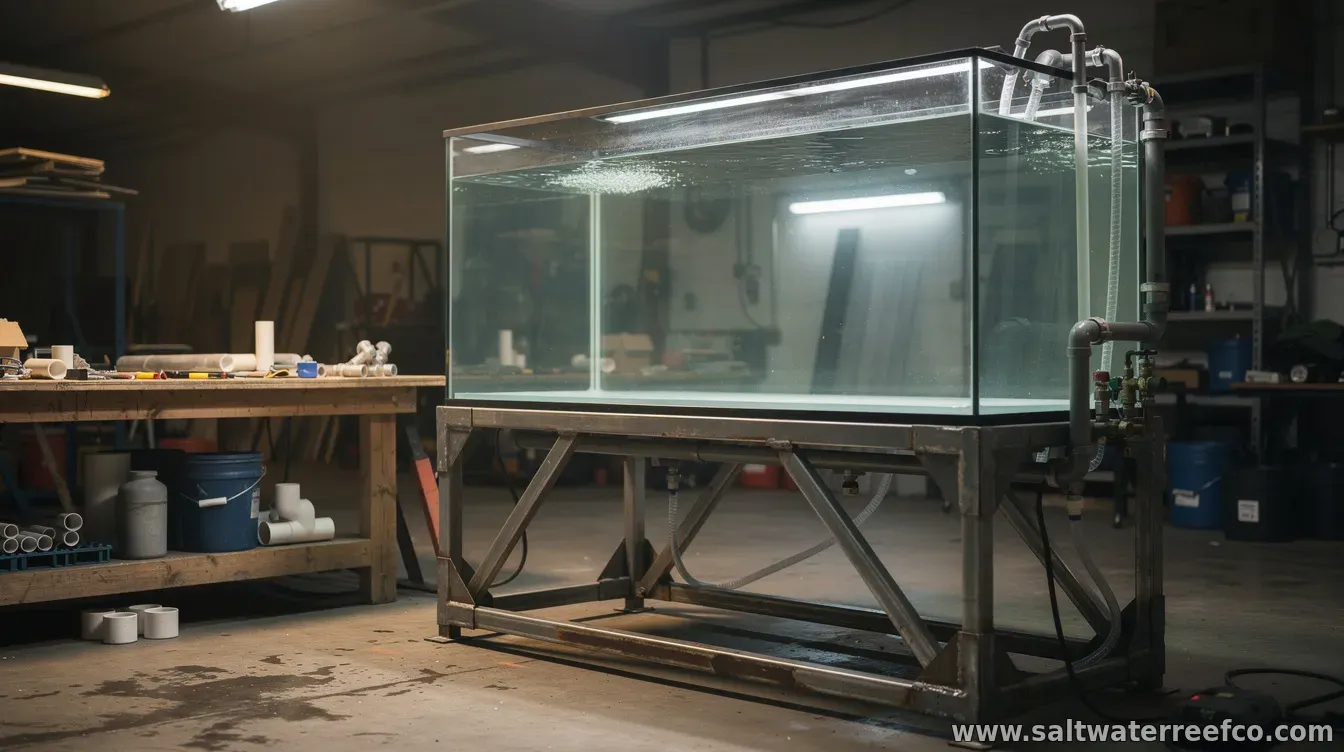
Designing and building a 200+ gallon display aquarium is a major project that blends carpentry, plumbing, electrical planning, and (above all) pressure-tested safety. Because the tank’s weight and complexity can’t be “fixed later,” most successful builds follow a deliberate sequence: measure, build the stand, verify levels, install plumbing and filtration, pressure-test, then fill and stabilize. 1) Planning the layout before anything is builtBefore purchasing materials, builders confirm the display tank’s footprint, viewing height, room access paths, and where utility runs will travel. At this stage, they also decide whether the system will use sump filtration, overflow boxes, internal circulation pumps, or a combination—each option changes how hoses, valves, and electrical outlets must be routed. Because a 200+ gallon tank can weigh well over 2,000 lb when filled, planning includes how the stand will sit relative to floors, doorways, and wall studs. Many builders also map out service access (for cleaning, filter media swaps, and water changes) so the tank can be maintained without awkward disassembly. 2) Stand design, structural support, and levelingThe stand is the foundation of the entire build. A proper 200+ gallon setup typically uses heavy-duty framing and adequate bracing to resist flex. Builders often use a level and shims for precise placement, because even small unevenness can stress the tank over time. After the stand is assembled, the next step is verification: check that the top surface is level in multiple directions and that there’s no wobble at load points. This stage is frequently where projects either become reliable long-term systems or encounter issues that later feel “mysterious.” With the stand ready, builders position the tank carefully—often with help—making sure the tank sits flat and fully supported along the bottom. If a tank manufacturer provides specific support requirements (contact points, backing clearance, or recommended stand specs), those instructions determine how the build proceeds. 3) Equipment placement and plumbing approachLarge display tanks commonly use a sump to increase water volume and hide equipment. That means planning the overflow route from the display to the sump, plus the return line back to the display. Builders route plumbing to minimize unnecessary bends and to keep valves accessible for troubleshooting. At this stage, many projects also include wiring and equipment mounting: determining where heaters, probes, reactors, skimmers, filtration media, and circulation pumps will mount. Good builds reduce “reach and strain” during maintenance by mounting gear at workable heights and leaving space for feedings and filter servicing. Builders also decide whether to incorporate features like union fittings (so hoses can be disconnected without cutting), check valves (for back-siphon control), and siphon-break strategies on return lines. These details don’t just improve convenience—they help protect equipment during power interruptions. 4) Installing overflow, seals, and leak-readinessOnce the tank is placed, builders install the overflow system and connect plumbing components. Any gaskets, bulkheads, and sealing surfaces are aligned carefully, and hardware is tightened according to manufacturer guidance—typically avoiding over-tightening that can damage fittings. A frequent best practice is to keep the tank “dry-fit” as much as possible before final assembly. Test-fitting parts first can reveal clearance issues with stands, cabinets, or sump placement. Clean, correct alignment matters because a 200+ gallon setup leaves little margin for error. After installation, the build moves into leak testing. Builders may use controlled filling methods—sometimes filling sections or using temporary water sources—while checking seams, bulkhead connections, and plumbing joints. This is the moment to slow down: small drips caught early can prevent bigger problems once the system is fully charged. 5) Initial water fill, cycling, and equipment verificationWhen leak testing passes, the tank is filled and the full system is run to confirm water flow paths. Builders check overflow operation, confirm return pump performance, and ensure the sump level behaves correctly under normal operation. They also verify that heaters are functioning and that probes are positioned for accurate readings. For most aquarists, the “build” isn’t complete when water is in—it’s complete when the biological cycle is established. Builders typically run the filtration system continuously during cycling, monitor parameters, and avoid rushing stocking decisions. To reduce risk, many experienced builders run additional checks after the first full fill: confirm electrical safety (GFCI protection where applicable), verify cords are routed to avoid water exposure, and confirm the stand remains stable under full load. 6) Ongoing maintenance planning for long-term successA 200+ gallon display tank is a long-term system, so maintenance logistics should be built in from day one. Builders plan how water changes will be performed, where buckets or hoses will connect, and how filters and media will be serviced without disturbing the tank’s layout. Finally, they establish a routine: inspecting plumbing connections, cleaning intake screens, checking overflow performance, and monitoring key water parameters. In large tanks, consistency is one of the biggest determinants of system stability—especially during the first months after the build. In short, a high-capacity aquarium build is a sequence of careful engineering decisions—stand integrity, precise leveling, correct plumbing and sealing, and thorough testing—followed by a disciplined cycling and maintenance plan. |
|
|
Next & Previous posts